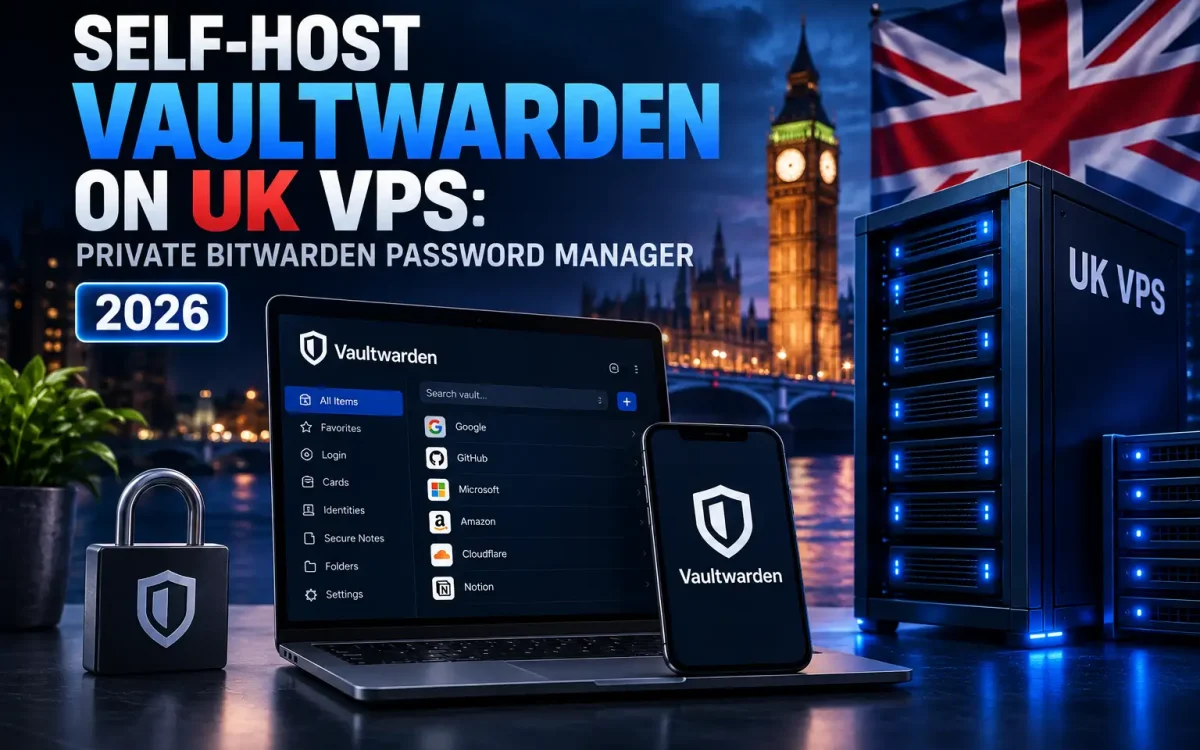
If you want a private password manager under your own control, the smartest way in 2026 is to self-host Vaultwarden on a UK VPS, giving your team an encrypted vault with genuine UK data residency and none of the per-seat SaaS fees. Vaultwarden is a lightweight, community-built server that speaks the Bitwarden API, so you keep the polished official Bitwarden apps while the encrypted data lives on infrastructure you own. This guide walks through what Vaultwarden is, why running your own makes sense, how it compares to the official Bitwarden self-hosted stack, and a practical Docker install with HTTPS, client setup, and backups.
What Is Vaultwarden?
Vaultwarden is an open-source password manager server written in Rust that implements the Bitwarden API. It is a community project and is not officially affiliated with Bitwarden, but because it faithfully reimplements the API it is fully compatible with the official Bitwarden clients: desktop apps, mobile apps, browser extensions, and the CLI. In practice, your users still install the same trusted Bitwarden software from the app stores; they simply point it at your server instead of Bitwarden’s cloud.
What makes Vaultwarden so appealing for self-hosting is its footprint. Where the official Bitwarden self-hosted deployment expects several containers and a good chunk of RAM, Vaultwarden runs as a single lightweight container and is happy on a small VPS with around 1GB of RAM. It also unlocks features that Bitwarden normally gates behind a premium subscription, such as TOTP code generation and file attachments, at no cost. That combination of tiny resource use and generous features is why it has become the default choice for anyone wanting a self-hosted Bitwarden-compatible vault.
Why Self-Host Your Password Manager
A hosted password manager is convenient, but it means your encrypted vault, your usage metadata, and your organisation’s account structure all sit on someone else’s servers, often outside the UK. Running your own changes that equation. Vaultwarden vaults are end-to-end encrypted with your master password regardless of where they live, but self-hosting means the encrypted blobs and the metadata around them stay on infrastructure you choose and control.
- Privacy and control — you decide who has access, how logs are kept, and when data is deleted. No third party can mine metadata or change terms on you.
- UK data residency — hosting on a UK VPS keeps the vault in-country, which simplifies GDPR conversations. Our UK GDPR hosting checklist covers the technical points the ICO looks at.
- Cost — a single small VPS can serve a whole team with no per-user subscription. For a growing agency that scales far more predictably than per-seat pricing.
- Consolidation — if you already self-host other tools, adding a password manager fits the same pattern. Teams that run their own self-hosted Git or self-hosted n8n will feel right at home.
What You Need to Self-Host Vaultwarden
The requirements to self-host Vaultwarden are modest. You need a UK VPS with roughly 1GB of RAM and a couple of gigabytes of disk (more if you plan to store attachments), a modern Linux distribution with Docker installed, a domain or subdomain pointed at the server, and ports 80 and 443 open for HTTPS. A UK Speed VPS covers the hosting side comfortably, and Docker keeps the install itself down to a single container.
Vaultwarden vs Official Bitwarden

Both give you a self-hosted, Bitwarden-compatible vault, but they target different needs. Vaultwarden is the lean community option; the official Bitwarden self-hosted stack is heavier but comes with commercial backing. The table below gives a fair side-by-side comparison.
| Aspect | Vaultwarden | Official Bitwarden self-host |
|---|---|---|
| Architecture | Single lightweight container | Multiple containers (SQL, identity, web, etc.) |
| Resource use | Runs on ~1GB RAM | Recommends ~2GB+ RAM and more disk |
| Premium features | TOTP, attachments and more, free | Some features tied to licensing |
| Support | Community project, unofficial | Official support and SLAs available |
| Enterprise features | Core plus a growing set | Fuller enterprise/compliance tooling |
| Best for | Individuals, small teams, agencies | Larger orgs needing official backing |
For most developers, privacy-conscious users, and small teams, Vaultwarden hits the sweet spot. Just remember it is a community project with no official affiliation to Bitwarden, so support comes from the community rather than a vendor.
How to Install Vaultwarden on UK VPS

With Docker installed, a basic install is a single command. This pulls the image from the Vaultwarden project, mounts a data volume so your vault persists, and restarts automatically:
docker run -d --name vaultwarden
  --restart unless-stopped
  -v /vw-data/:/data/
  -p 8080:80
  vaultwarden/server:latest
For production, a Compose file is easier to manage and lets you set environment variables cleanly. Generate an admin token first with openssl rand -base64 48, and disable open registration once you have created your own account:
services:
  vaultwarden:
    image: vaultwarden/server:latest
    container_name: vaultwarden
    restart: unless-stopped
    volumes:
      - ./vw-data:/data
    environment:
      DOMAIN: "https://vault.example.co.uk"
      ADMIN_TOKEN: "<paste-your-openssl-token>"
      SIGNUPS_ALLOWED: "false"
    ports:
      - "8080:80"
Leave SIGNUPS_ALLOWED set to true just long enough to create your first account through the web vault, then flip it to false and restart the container so no one else can register. All your data lives in the mounted volume, which is exactly what you will back up later. If you are new to running containers in production, our Docker Compose on UK VPS guide covers the fundamentals.
How to Set Up HTTPS and a Reverse Proxy

Vaultwarden must be served over HTTPS. The Bitwarden browser extensions refuse to talk to a plain HTTP server, so a reverse proxy with a valid TLS certificate is not optional. Put Nginx, Caddy, or Traefik in front of the container and terminate TLS there, proxying requests through to Vaultwarden on its internal port. Live sync over WebSockets is handled automatically in modern Vaultwarden, so no special proxy gymnastics are needed for it.
Caddy is the quickest path because it obtains and renews a Let’s Encrypt certificate for you automatically. A minimal Caddyfile is all it takes:
vault.example.co.uk {
    reverse_proxy 127.0.0.1:8080
}
If you prefer Nginx, terminate TLS in a server block and proxy to the container, forwarding the usual headers:
server {
    listen 443 ssl;
    server_name vault.example.co.uk;
    # ssl_certificate / ssl_certificate_key from certbot

    location / {
        proxy_pass http://127.0.0.1:8080;
        proxy_set_header Host $host;
        proxy_set_header X-Real-IP $remote_addr;
        proxy_set_header X-Forwarded-For $proxy_add_x_forwarded_for;
        proxy_set_header X-Forwarded-Proto $scheme;
    }
}
Once the certificate is live, browse to your domain and you should see the Bitwarden web vault served securely.
Connect Bitwarden Apps and Extensions
This is the part that surprises people with how smooth it is: you use the official Bitwarden clients unchanged. Before logging in, point each client at your server. In the desktop app, mobile app, or browser extension, open the settings cog on the login screen and set the Server URL (self-hosted environment) to your domain, for example https://vault.example.co.uk. Save, then log in or create your account as normal.
- Set the self-hosted server URL before entering your credentials.
- Install the Bitwarden browser extension and repeat the same server-URL step there.
- Everything else — autofill, generator, sends, organisations — behaves exactly like the hosted product.
Secure and Back Up Your Vault
Self-hosting means you own the security posture, so treat the box seriously. Enable the admin page by setting the ADMIN_TOKEN you generated earlier; modern Vaultwarden stores it as an Argon2 hash for safety. Visit /admin to manage users and settings, and confirm that open signups are disabled.
- Enforce 2FA — turn on two-factor authentication for every account. This is your strongest defence if a master password ever leaks.
- Lock down the firewall — expose only port 443 publicly. For extra safety, keep the admin page or the whole service behind a private network, such as a self-hosted mesh VPN.
- Harden the host — follow our SSH hardening steps so the underlying server is not the weak link.
- Back up the data volume — the whole vault lives in the mounted directory:
db.sqlite3, attachments, and the RSA keys. Copy it off-site on a schedule.
# Simple off-site backup of the data volume
tar czf vw-backup-$(date +%F).tar.gz /vw-data
# then sync the archive to remote storage (rsync, rclone, etc.)
Test a restore occasionally — a backup you have never restored is only a hope. Because vaults are encrypted with each user’s master password, a strong master password remains essential; self-hosting protects the storage, not a weak password.
Best Practices for Production Vaultwarden
- Keep it updated — pull the latest image regularly; security fixes land often in an actively maintained project.
- Use a dedicated subdomain — a clean
vault.subdomain keeps certificates and cookies tidy. - Monitor and alert — watch container health, disk space, and certificate expiry so nothing lapses silently.
- Document recovery — write down how to rebuild the container and restore the volume, so any team member can act in an emergency.
- Right-size the VPS — 1GB RAM suits a small team; add headroom if you store many attachments or serve a larger organisation.
None of this is heavy work, but doing it consistently is what turns a hobby install into something you can trust with your organisation’s credentials.
Conclusion
Choosing to self-host Vaultwarden gives you a private, low-cost, Bitwarden-compatible password manager with your encrypted data staying on a UK VPS you control. It is one of the highest-value services to run yourself: tiny footprint, familiar official clients, and real gains in privacy and UK data residency. Provided you put it behind HTTPS, enforce 2FA, and back up the data volume, a self-hosted Vaultwarden is a dependable choice for developers, privacy-conscious users, and small teams alike.
What to do next:
- Spin up a small UK VPS and install Docker.
- Deploy Vaultwarden and put Caddy or Nginx in front for HTTPS.
- Create your account, disable signups, and enforce 2FA.
- Set up an automated off-site backup of the data volume.
Self-host Vaultwarden on a UK Speed VPS
You only need a small NVMe VPS to run your own private, GDPR-friendly password manager — deployed in the UK on enterprise AMD EPYC hardware, with full root access and a fast network. Spin one up in minutes and keep your vault on infrastructure you control.