Secure Shell (SSH) remains the primary method for managing Linux servers in 2026. Whether you’re running a WordPress website, VPS hosting platform, database server, development environment, or enterprise application, SSH provides administrators with powerful remote access capabilities. However, SSH is also one of the most frequently targeted services on the internet. Automated bots continuously scan public IP addresses searching for vulnerable SSH servers, weak passwords, outdated configurations, and exposed root accounts. Many administrators believe changing SSH from port 22 to another port is sufficient protection. While changing the default port may reduce some automated noise, it does not truly secure your server.
Real SSH security requires a layered approach. In this guide, we’ll explore 10 essential SSH hardening techniques that significantly improve Linux VPS security beyond simply changing the default port.
Why SSH Security Matters
Every public-facing Linux VPS is constantly being scanned. Within minutes of deploying a new server, you may observe:
- Brute-force login attempts
- Credential stuffing attacks
- Automated vulnerability scans
- Botnet reconnaissance
- Exploit attempts
If attackers gain SSH access, they can potentially:
- Steal data
- Install malware
- Deploy ransomware
- Launch attacks against others
- Delete websites
- Access customer information
SSH security should therefore be considered one of the highest priorities for any server administrator.
Understanding the Threat Landscape in 2026
Modern attackers rarely target servers manually. Instead, they rely on:
- Automated botnets
- AI-assisted attack tools
- Credential databases
- Mass scanning platforms
A poorly secured VPS may receive thousands of login attempts per day. The goal of SSH hardening is to reduce the attack surface and eliminate common attack vectors.
Step 1: Change the Default SSH Port
Although this should not be your only security measure, changing the default port remains useful. Default SSH:
Port 22
Example custom port:
Port 22022
Configuration file:
/etc/ssh/sshd_config
Benefits include:
- Reduced automated scanning
- Lower log noise
- Fewer brute-force attempts
However, attackers can still discover open ports through port scanning. This should be viewed as a minor security improvement rather than a complete solution.
Step 2: Disable Root Login
Allowing direct root access is one of the most common SSH security mistakes. Instead of:
PermitRootLogin yes
Use:
PermitRootLogin no
This forces attackers to compromise a normal user account before attempting privilege escalation. Benefits:
- Smaller attack surface
- Improved auditing
- Better access control
Create an administrative user and use sudo when elevated privileges are required.
Step 3: Disable Password Authentication
Passwords remain one of the weakest forms of authentication. Even strong passwords can be:
- Phished
- Leaked
- Reused
- Brute-forced
Instead, use SSH key authentication. Disable passwords:
PasswordAuthentication no
Enable keys:
PubkeyAuthentication yes
This single change dramatically improves SSH security.
Step 4: Use Strong SSH Keys
Not all SSH keys provide the same level of security. Modern recommendations include:
Ed25519
Generate:
ssh-keygen -t ed25519
Benefits:
- Smaller key size
- Faster operations
- Strong cryptographic security
Avoid outdated key types whenever possible. Modern VPS deployments should prioritize Ed25519 keys.
Step 5: Restrict Login Users
Most servers only require SSH access for a small number of users. Instead of allowing everyone:
AllowUsers admin
Or:
AllowUsers admin deploy backup
Benefits:
- Reduced attack surface
- Easier auditing
- Better access control
Unauthorized accounts cannot attempt SSH logins.
Step 6: Enable Fail2Ban Protection
Fail2Ban remains one of the most effective tools for blocking brute-force attacks. It monitors:
- Authentication failures
- SSH logs
- Suspicious activity
When thresholds are exceeded:
- IP addresses are automatically blocked
- Temporary bans are applied
- Attack traffic is reduced
Installation:
apt install fail2ban -y
Benefits:
- Automatic protection
- Reduced brute-force attempts
- Lower server load
Fail2Ban should be considered mandatory for public-facing VPS servers.
Step 7: Limit Authentication Attempts
By default, SSH may allow multiple login attempts. Reduce this value:
MaxAuthTries 3
Benefits:
- Faster attacker lockouts
- Reduced brute-force effectiveness
- Improved security posture
Modern SSH configurations should avoid excessive authentication attempts.
Step 8: Disable Unnecessary SSH Features
Many servers do not require all SSH capabilities. Disable unused features.
Disable X11 Forwarding
X11Forwarding no
Disable Agent Forwarding
AllowAgentForwarding no
Disable TCP Forwarding
AllowTcpForwarding no
Benefits:
- Reduced attack surface
- Fewer exploitation opportunities
- Simpler security management
Only enable features that are genuinely required.
Step 9: Implement Firewall Restrictions
A firewall provides another layer of protection. Examples:
UFW
Allow only trusted IP addresses:
ufw allow from YOUR-IP to any port 22022
Restrict by Country or Network
Some organizations limit SSH access to:
- Office locations
- VPN networks
- Management IP ranges
Benefits:
- Dramatically reduced exposure
- Protection from global scanning activity
The most secure SSH service is one that most attackers cannot reach.
Step 10: Enable Two-Factor Authentication (2FA)
Two-factor authentication adds another security layer. Even if an attacker obtains:
- SSH keys
- Credentials
- Access tokens
they still require the second authentication factor. Popular implementations include:
- Google Authenticator
- Authy
- TOTP applications
Benefits:
- Protection against credential compromise
- Improved account security
- Enhanced compliance readiness
For high-value servers, 2FA is strongly recommended.
Additional SSH Hardening Techniques
Beyond the core ten steps, additional improvements can further strengthen security.
Keep OpenSSH Updated
Outdated software may contain vulnerabilities. Regularly update:
apt update && apt upgrade
Use Modern Ciphers
Disable weak cryptographic algorithms. Prefer:
- chacha20-poly1305
- aes256-gcm
- strong key exchange methods
Monitor Authentication Logs
Review:
/var/log/auth.log
Regular monitoring helps identify suspicious activity.
Use VPN-Based Management
Many organizations place SSH behind:
- WireGuard
- OpenVPN
- Tailscale
This significantly reduces public exposure.
Configure Idle Session Timeouts
Example:
ClientAliveInterval 300
ClientAliveCountMax 2
Benefits:
- Reduced risk of abandoned sessions
- Improved account security
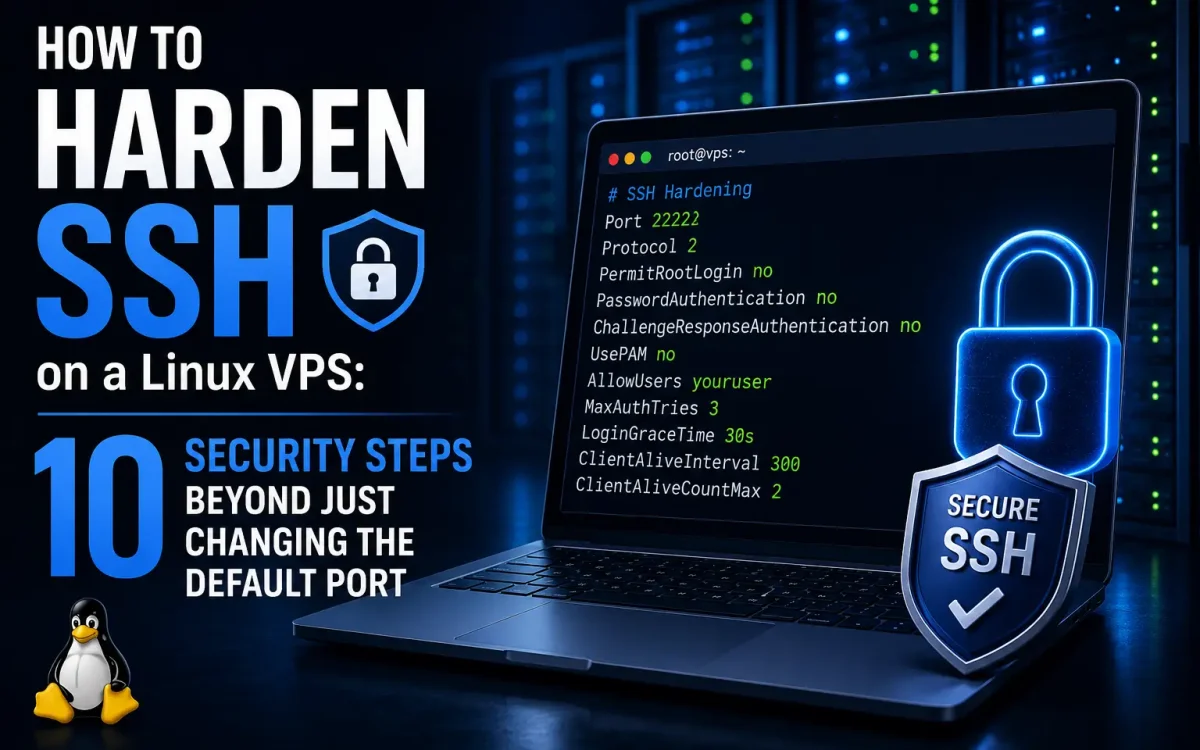
Example Hardened SSH Configuration
A modern production configuration might include:
Port 22022
PermitRootLogin no
PasswordAuthentication no
PubkeyAuthentication yes
AllowUsers admin
MaxAuthTries 3
X11Forwarding no
AllowTcpForwarding no
ClientAliveInterval 300
ClientAliveCountMax 2
Combined with:
- Fail2Ban
- Firewall restrictions
- SSH keys
- Two-factor authentication
this creates a significantly stronger security posture.
Common SSH Security Mistakes
Many administrators unintentionally weaken server security. Examples include:
Using Password Authentication
Still one of the largest attack vectors.
Allowing Root Login
Unnecessary and risky.
Ignoring Updates
Leaves systems vulnerable.
Reusing SSH Keys
Compromised keys may affect multiple systems.
Exposing SSH to the Entire Internet
Restrict access whenever possible.
Assuming Port Changes Are Enough
Security through obscurity alone is ineffective.
SSH Hardening for VPS Hosting Providers
Hosting providers face additional challenges. A single compromised VPS can be used for:
- Spam campaigns
- Botnet activity
- Cryptocurrency mining
- DDoS attacks
Strong SSH security protects:
- Customer environments
- Infrastructure reputation
- Network integrity
This is why professional hosting providers often recommend advanced SSH hardening from day one.
Why SSH Security Impacts Website Availability
A compromised server can result in:
- Website outages
- Data theft
- Malware infections
- SEO penalties
- Reputation damage
Preventing unauthorized SSH access is therefore essential for maintaining uptime and customer trust.
Why UKSpeed Recommends SSH Hardening
At UKSpeed, security forms a critical part of VPS management best practices. Whether you’re running:
- WordPress websites
- WooCommerce stores
- Development environments
- SaaS platforms
- Dedicated servers
proper SSH hardening significantly reduces the likelihood of compromise. Combining:
- SSH keys
- Fail2Ban
- Firewall controls
- Two-factor authentication
- Modern OpenSSH configurations
creates a robust security foundation for Linux servers in 2026.
Final Thoughts
Changing the default SSH port may reduce automated scanning, but it is only a small part of a complete security strategy. Modern Linux VPS security requires multiple layers of protection working together. By implementing SSH key authentication, disabling root access, limiting login attempts, restricting users, enabling Fail2Ban, deploying firewalls, and adopting two-factor authentication, administrators can dramatically reduce the risk of unauthorized access. As cyber threats continue evolving in 2026, SSH hardening remains one of the most valuable security investments any server owner can make. A properly secured SSH service not only protects your VPS but also helps safeguard your websites, applications, customers, and business reputation.
Looking for fast, secure hosting?
Visit UK Speed for cloud servers, VPS NVMe, and dedicated hosting tailored for performance.