
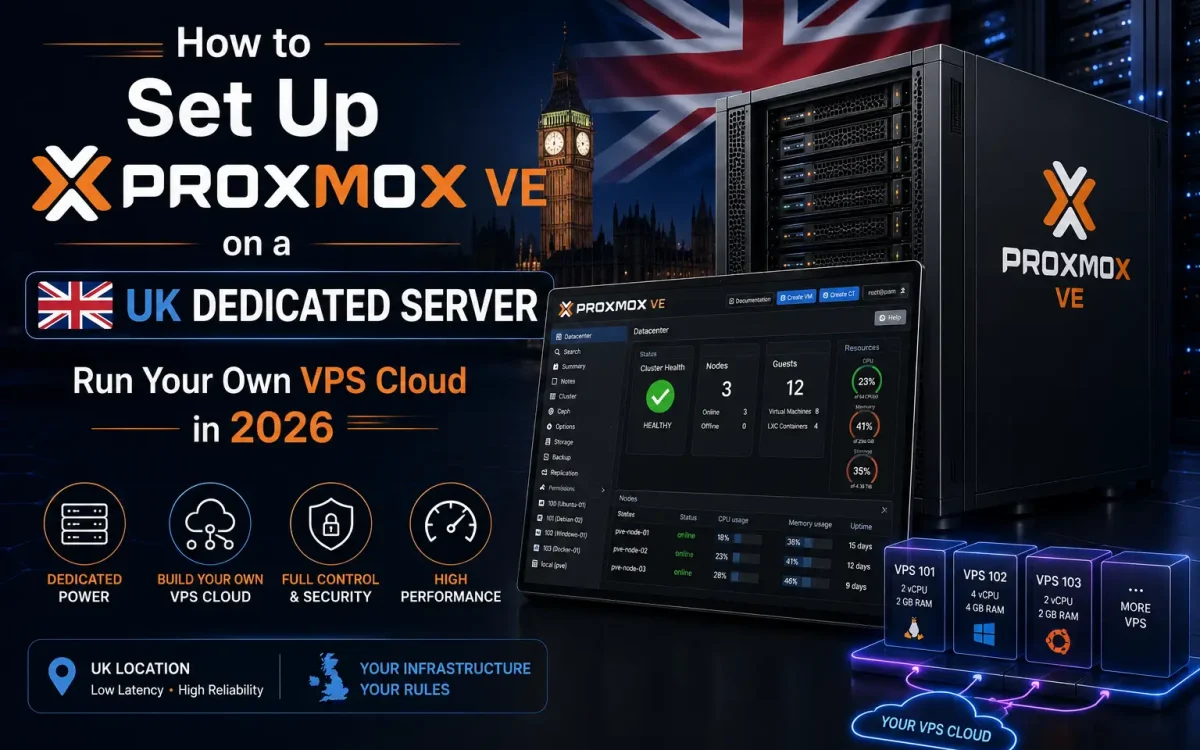
Learning how to set up Proxmox VE on a UK dedicated server is the fastest route to running your own private VPS cloud without paying a public cloud provider by the instance. Proxmox VE is a mature, open-source virtualisation platform that turns one powerful bare-metal box into a fleet of virtual machines and containers you fully control. This guide walks the whole journey, from choosing hardware to creating your first VM.
What Is Proxmox VE?
Proxmox VE (Virtual Environment) is a free, open-source, Debian-based platform that combines two virtualisation technologies. It uses KVM (Kernel-based Virtual Machine) to run full virtual machines with their own kernels, and LXC to run lightweight Linux containers that share the host kernel. You manage everything through a clean web interface on port 8006 or the command line, using tools such as qm, pct and pvesm.
It is free to download and use. An optional paid enterprise subscription unlocks the tested enterprise repository and vendor support, but the community can run production workloads on the free no-subscription repository. That combination of no licence cost, KVM full virtualisation and LXC containers is what makes it ideal for a do-it-yourself VPS cloud.
Why Run Your Own VPS Cloud
Public cloud is convenient, but per-instance billing adds up quickly once you run more than a handful of workloads. Running your own VPS cloud on a single dedicated box flips that model: you pay a fixed monthly price for the hardware, then carve it into as many VMs and containers as the resources allow.
- Predictable cost — one flat server fee instead of metered charges that scale with every VM you spin up.
- Full control — root access to the hypervisor, custom networking, and no vendor guardrails on what you can run.
- Resource density — a modern multi-core server with plenty of RAM can host dozens of small VPS instances.
- UK data residency — keeping data on UK hardware simplifies GDPR compliance and reassures British clients.
- Reseller potential — allocate isolated VPS instances to clients, or run separate staging and production environments.
If you are still weighing options, our hosting types decision guide shows where dedicated hardware fits, and when you actually need a dedicated server covers the point at which owning the whole machine pays off.
Proxmox VE vs ESXi and Hyper-V

The three big hypervisor choices are Proxmox VE, VMware ESXi and Microsoft Hyper-V. VMware ESXi is a mature enterprise product, but its licensing changed significantly after the Broadcom acquisition and costs have risen for many customers. Hyper-V is capable but Windows-centric, suiting Microsoft-heavy shops more than mixed Linux estates. Proxmox VE stands out for cost and openness while still offering enterprise-grade features such as clustering, high availability, built-in ZFS and Ceph.
| Feature | Proxmox VE | VMware ESXi | Hyper-V |
|---|---|---|---|
| Licence cost | Free (optional paid support) | Commercial licence | Windows licensing |
| Virtualisation | KVM VMs + LXC containers | Full VMs | Full VMs |
| Built-in storage | ZFS, Ceph, LVM, NFS | VMFS, vSAN | Storage Spaces |
| Clustering / HA | Included | Licensed tiers | Failover clustering |
| Best for | Open-source VPS clouds | Large enterprise estates | Windows-first shops |
For most people building a self-hosted VPS cloud, the deciding factor of Proxmox VE vs ESXi is licensing: paying nothing for the hypervisor leaves more budget for hardware.
How to Prepare Your UK Dedicated Server
Good virtualisation starts with the right hardware. Because every VM competes for CPU, memory and disk I/O, you want a server with headroom. The key decisions are the processor, the RAM, the storage layout and the network.
What You Need to Set Up Proxmox VE
- CPU — a modern AMD EPYC or Intel Xeon with plenty of cores; core count directly limits how many VMs you can run comfortably. See our EPYC vs Xeon comparison for guidance.
- RAM — memory is usually the first ceiling you hit; budget generously and leave room for ZFS caching.
- Hardware virtualisation — enable VT-x (Intel) or AMD-V in the BIOS, or KVM will not run full VMs.
- Storage — fast NVMe or SSD drives, ideally in a ZFS mirror or RAID for redundancy.
- Network — a public IP block for your VPS instances plus a private bridge for internal traffic.
- IPMI / KVM-over-IP — out-of-band access so you can mount the ISO and install the OS on bare metal remotely.
A UK Speed UK dedicated server ticks these boxes with EPYC or Xeon options, NVMe storage and IPMI, giving you a clean bare-metal foundation. If you are choosing your platform, the difference between bare metal and dedicated servers is worth a quick read first.
How to Install Proxmox VE

Once the hardware is ready, you can set up Proxmox VE in under an hour. The simplest path is to boot the official ISO through your server’s IPMI virtual media. You can also install Debian first and add the Proxmox repository on top, but the dedicated ISO handles disk, ZFS and network setup for you.
- Download the Proxmox VE ISO and mount it via IPMI virtual media.
- Boot the installer and choose your target disk and filesystem (a ZFS RAID-1 mirror is a solid default).
- Set the timezone, a strong root password and an administrator email.
- Enter the management IP address, gateway and DNS for the host.
- Let the installer finish, reboot, and log in to the web UI.
After the reboot you can reach the management interface in your browser:
https://SERVER-IP:8006If you are not buying an enterprise subscription, switch to the free no-subscription repository and update the system before you do anything else:
# disable the enterprise repo, enable no-subscription, then:
apt update && apt full-upgrade -y
reboot
Always follow the official Proxmox VE documentation for current repository paths and version-specific steps, as they change between releases. With updates applied, you have a working hypervisor ready for its first workloads.
How to Create VMs and Containers

Proxmox VE gives you two ways to run workloads, and knowing when to use each is the key to a dense, efficient VPS cloud. Full KVM virtual machines run any operating system, including Windows, with a fully isolated kernel. LXC containers are far lighter, sharing the host kernel to pack many Linux VPS instances onto one box.
Creating a KVM Virtual Machine
Upload an installer ISO through the web UI, then create the VM by clicking Create VM or from the command line. Assign CPU cores, RAM and a virtual disk, and attach it to the default bridge vmbr0. Use VirtIO for disk and network devices to get near-native performance.
qm create 100 --name web01 --memory 4096 --cores 2
  --net0 virtio,bridge=vmbr0 --scsihw virtio-scsi-pci
Creating an LXC Container
Download an LXC template (Debian, Ubuntu, Alma and more), then create a container with pct. Containers boot in seconds and use a fraction of a full VM’s resources, which makes them so effective for high-density VPS hosting.
pct create 200 local:vztmpl/debian-12-standard.tar.zst
  --hostname vps01 --memory 1024 --net0 name=eth0,bridge=vmbr0,ip=dhcp
For rapid provisioning, build a cloud-init template once and clone it whenever a client needs a new VPS, turning a multi-minute build into a one-click deployment.
Configure Networking, Storage and Backups
A production VPS cloud needs solid networking, resilient storage and reliable backups. Getting these three right separates a hobby lab from a service you can depend on.
Networking. Proxmox uses a Linux bridge, vmbr0, to connect VMs and containers to the network. Layer VLANs or the built-in SDN feature on top to isolate tenants, and add a second private bridge for internal traffic that never touches the public IP block.
Storage. ZFS is the standout choice: it provides instant snapshots, built-in data integrity checking and flexible RAID levels such as mirrors. Proxmox also supports local storage, LVM, NFS and clustered Ceph for scale-out setups. A ZFS mirror gives you redundancy so a single failed drive does not take the whole cloud down.
Backups. Use the built-in vzdump tool for scheduled backups, and pair it with Proxmox Backup Server for deduplicated, incremental backups of every VM and container. Combined with ZFS snapshots before risky changes, you get both point-in-time and full disaster recovery.
Secure and Optimize Your Proxmox Host
Your hypervisor is the crown jewel of the platform, so treat its security seriously: if someone compromises the host, every VM on it is at risk. A few disciplined habits keep the attack surface small.
- Never expose port 8006 directly to the internet — put the web UI behind a firewall or, better, a VPN.
- Use a strong root password and enable two-factor authentication on the web interface.
- Configure the built-in Proxmox firewall at datacentre, node and VM level.
- Keep a separate management network isolated from tenant traffic.
- Apply updates regularly and monitor load with the built-in performance graphs.
Because the host is Debian underneath, general Linux good practice applies: our Linux server hardening guide and SSH hardening steps apply directly to the Proxmox node.
For density and performance, enable KSM (Kernel Same-page Merging) to share identical memory between VMs, use VirtIO devices throughout, turn on memory ballooning to reclaim unused RAM, and tune the ZFS ARC cache so it does not starve your guests. These tweaks let one dedicated server safely host far more VPS instances.
Conclusion
To set up Proxmox VE on a UK dedicated server is to own your virtualisation stack end to end: no per-instance cloud fees, full root control, and your data on UK hardware. With KVM VMs, LXC containers, ZFS storage and built-in backups, one well-specified box can run a genuine private VPS cloud for your business or clients.
The barrier to entry has never been lower: the free no-subscription repository means you can build a serious platform without licensing costs.
- Choose a UK dedicated server with an EPYC or Xeon CPU, ample RAM and NVMe storage.
- Install Proxmox VE via IPMI, switch to the no-subscription repo and update.
- Create your first KVM VM and LXC container, then build a cloud-init template.
- Lock down the host with a firewall, 2FA and scheduled ZFS-backed backups.
Run Proxmox VE on a UK Speed server
Build your own private VPS cloud on dedicated AMD EPYC hardware with full control, hosted in the UK.