For most people, cPanel is the first time they ever touch a “server”. Its the dashboard your hosting provider gives you to manage files, email, databases, and domains — all without writing a single line of code or touching the command line. This guide walks you through what cPanel is, what it can do, and how to use it confidently.
What Is cPanel?
cPanel is the most widely used web hosting control panel in the world. It runs on Linux servers and provides a graphical interface for tasks that would otherwise require server administration skills. If your hosting plan includes cPanel, you can manage your entire web presence from a browser.
Logging In to cPanel
Most hosts give you a URL like yourdomain.com/cpanel or yourdomain.com:2083. Use the username and password your host provided. Bookmark the login page — you will use it often.
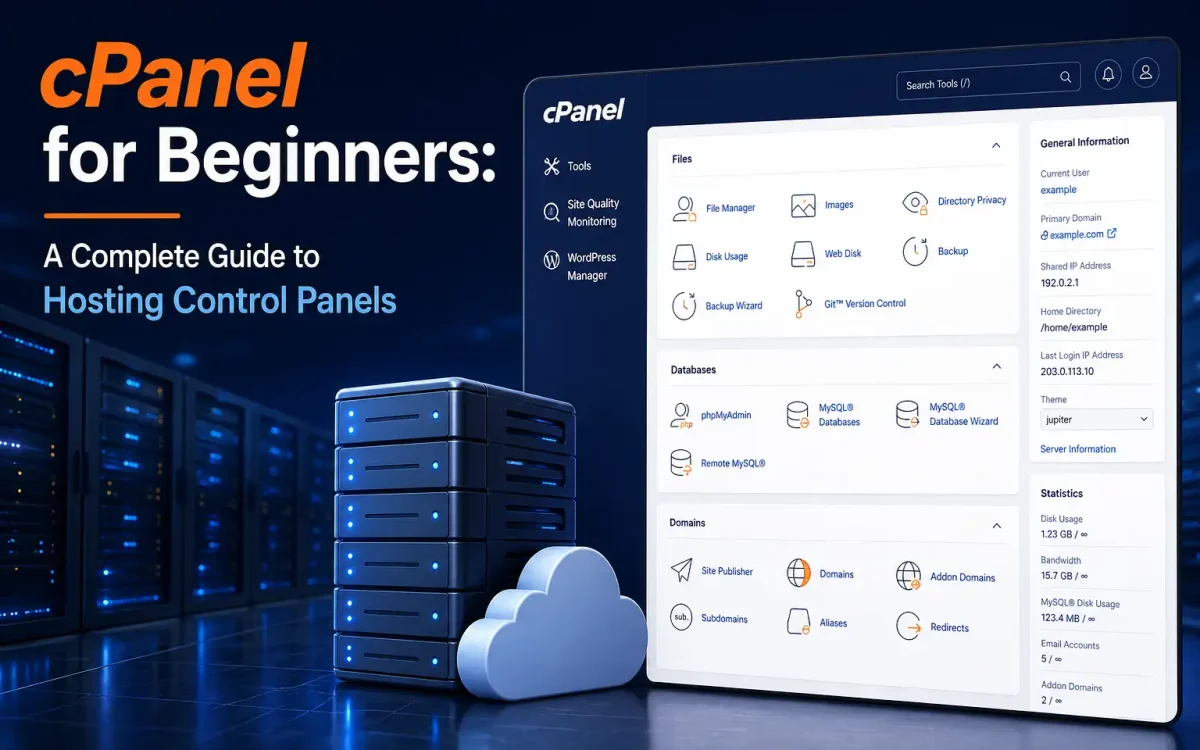
The cPanel Dashboard at a Glance
The cPanel home screen organizes everything into sections:
- Files — File Manager, FTP accounts, backups.
- Databases — MySQL/MariaDB, phpMyAdmin.
- Domains — Add domains, subdomains, redirects, DNS.
- Email — Create email accounts, forwarders, spam filters.
- Metrics — Bandwidth, errors, visitor stats.
- Security — SSL/TLS, IP blocking, password protection.
- Software — PHP version selector, one-click installers.
Essential Tasks Every cPanel User Should Know
Installing WordPress
Most hosts include Softaculous or a similar one-click installer. Find it under “Software”, select WordPress, choose your domain, set an admin username and password, and click install. The whole process takes under a minute.
Creating Email Accounts
Under “Email Accounts”, click “Create”, enter the username (the part before @), set a password, and choose a mailbox quota. You can then access webmail or set up the account in your email client using IMAP/SMTP settings provided by cPanel.
Adding a New Domain
Under “Domains”, click “Create A New Domain”. Enter the domain name and choose a document root (the folder where the sites files will live). Update your domain registrars nameservers to point to your host, and the domain becomes active within a few hours.
Backing Up Your Site
The “Backup Wizard” creates a full account backup you can download. Always download a backup before major changes — updates, migrations, or installs. For automated backups, look in “JetBackup” if your host provides it.
Installing an SSL Certificate
Modern cPanel includes free Lets Encrypt SSL certificates. Under “SSL/TLS Status”, select your domains and click “Run AutoSSL”. Within a few minutes, your site supports HTTPS automatically.
Managing Files
The File Manager lets you upload, edit, and organize files directly in the browser. For larger uploads or bulk operations, use FTP or SFTP. Always create FTP accounts under “FTP Accounts” rather than reusing your main cPanel password.
Common cPanel Mistakes to Avoid
- Using weak passwords — your cPanel password protects everything. Use a long, unique one.
- Ignoring updates — outdated PHP or WordPress versions are the leading cause of compromised sites.
- Skipping backups — assume something will break, because eventually it will.
- Setting permissions to 777 — convenient and catastrophically insecure.
- Storing backups on the same server — useless if the server itself fails.
cPanel vs Other Control Panels
cPanel is the most common, but its not the only option:
- Plesk — popular alternative with both Linux and Windows support.
- DirectAdmin — lightweight, fast, lower-cost option.
- Custom panels — many hosts build their own.
The skills you learn in cPanel transfer easily to other panels — the concepts are universal.
Final Thoughts
cPanel makes server management approachable for non-technical users. Once you know where things live and what each section does, you can manage your entire web hosting setup confidently. Spend an hour clicking through the interface — you will be surprised how much it can do.
Further Reading
From our blog:
External resources: