
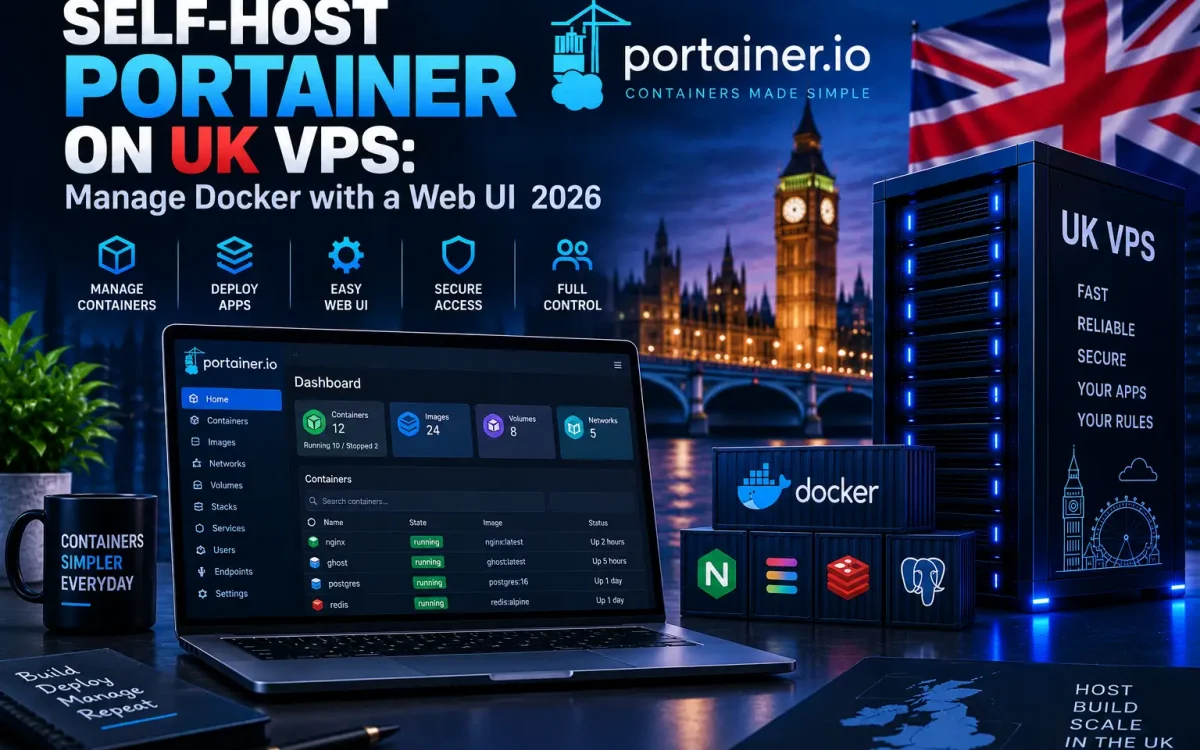
If your Docker workload has grown past what you can comfortably juggle from the command line, it is time to self-host Portainer: a lightweight web dashboard that lets you manage Docker visually instead of memorising a wall of CLI flags. This guide walks UK developers, sysadmins and agencies through installing Portainer on a UK VPS, deploying your first stack, and locking the whole thing down so it does not become a liability.
What Is Portainer?
Portainer is a lightweight management UI for Docker (and, if you need it, Docker Swarm and Kubernetes). Rather than typing commands to inspect and control your environment, you open a browser and see everything at a glance: running containers, images, volumes, networks and stacks, all on one dashboard. You can start, stop and restart containers, tail logs, open a console into a running container, pull images and check resource usage without touching a terminal.
It is worth being clear about what Portainer is not. It is a management layer that sits on top of Docker, not a replacement for understanding how Docker works. The Docker engine and its CLI are still running underneath, and anything you do in the UI translates to the same operations you could run by hand. That makes Portainer an excellent overview and a superb tool for teams, while the fundamentals of images, containers and networking remain worth learning.
Why Manage Docker with a Web UI
Once you are running more than a handful of containers, the CLI starts to feel like hard work. A Docker web UI gives you a visual overview so you can spot a stopped container, a runaway process or a full volume in seconds. For teams, it removes the bottleneck of one person who “knows the commands” and lets designers, junior developers and ops staff all see the same state safely.
- See every container, its status and its resource use at a glance.
- Deploy multi-container apps as stacks from a pasted Docker Compose file.
- Read logs and open a shell without SSHing into the host.
- Give team members controlled access instead of shared root credentials.
- Manage volumes and networks visually, reducing costly typos.
What You Need to Self-Host Portainer
The requirements to self-host Portainer are modest. You need a Linux VPS with Docker already installed, root or sudo access, and a spare port for the web interface. A small UK VPS is plenty for the Portainer container itself, though you will want headroom for whatever workloads you plan to run alongside it. Keeping your host in a UK data centre also means low latency for UK-based teams and keeps your data within familiar jurisdiction.
- A Linux VPS (Ubuntu, Debian, Rocky or similar) with a public IP.
- Docker Engine installed and running.
- Root or sudo access to create volumes and run containers.
- Ideally a domain name and a reverse proxy for HTTPS.
Portainer CE vs Business Edition

Portainer comes in two flavours. Portainer CE (Community Edition) is free and open source, and for most individuals and small teams it does everything you need. Portainer Business (BE) adds role-based access control, extra authentication integrations and commercial support; it is free for a small number of nodes and licensed beyond that. Choosing between them mostly comes down to whether you need granular team permissions and vendor support.
| Feature | Portainer CE | Portainer Business |
|---|---|---|
| Cost | Free, open source | Free for a few nodes, then licensed |
| Core Docker management | Yes | Yes |
| Role-based access control | Basic | Granular RBAC |
| Auth options | Internal, basic external | LDAP, OAuth, SSO and more |
| Support | Community | Commercial support |
| Best for | Individuals, small teams | Larger teams, production, compliance |
If you are unsure, start with Portainer CE. You can move to Business later without losing your setup, and many production environments run happily on CE for years.
How to Install Portainer on UK VPS

With Docker already installed, installing Portainer is a two-step job: create a persistent volume for its data, then run the container. The commands below deploy Portainer CE and expose its HTTPS interface on port 9443 (Portainer generates a self-signed certificate by default).
docker volume create portainer_data

docker run -d -p 9443:9443 --name portainer --restart=always
  -v /var/run/docker.sock:/var/run/docker.sock
  -v portainer_data:/data
  portainer/portainer-ce:latest
Mounting /var/run/docker.sock is what lets Portainer talk to the local Docker engine. Once the container is up, open https://your-server-ip:9443 in a browser, accept the self-signed certificate warning, and you will be prompted to create the administrator account. Do this promptly: for security, Portainer locks new-admin creation after a short timeout, so if you leave it too long you will have to restart the container to try again. After you set the password, Portainer connects to the local Docker environment via the mounted socket and you land on the dashboard. For deeper reference, keep the official Portainer documentation to hand.
One important caveat: mounting the Docker socket gives Portainer full control of Docker, which is effectively root on the host. That is fine and expected, but it means securing the UI is not optional. We cover that shortly.
How to Deploy a Stack from the UI
The feature most people fall in love with is stacks. In Portainer, a stack is a multi-container application defined with Docker Compose. Open the “Stacks” area, choose “Add stack”, give it a name and paste your Compose file into the web editor. Portainer deploys every service, network and volume for you and shows the result immediately.
services:
  web:
    image: nginx:latest
    ports:
      - "8080:80"
    restart: always
  cache:
    image: redis:latest
    restart: always
You can also deploy a stack directly from a Git repository, which is ideal if you keep your Compose files under version control and want repeatable, auditable deployments. If you are new to Compose, our walkthrough on running Docker Compose for WordPress in production on a UK VPS is a good companion. For larger clusters, it is worth understanding how this compares to full orchestration; see our piece on Kubernetes versus Docker Swarm.
Secure Portainer with HTTPS

Because Portainer controls Docker, treat its front door with the same care as an SSH login. The self-signed certificate on port 9443 works, but for anything beyond testing you should put Portainer behind a reverse proxy such as Nginx, Caddy or Traefik with a proper TLS certificate from Let’s Encrypt. The reverse proxy terminates HTTPS on your domain and forwards traffic to Portainer internally.
- Use a reverse proxy with a valid TLS certificate rather than exposing 9443 raw.
- Set a long, unique administrator password and, on Business, enable per-user accounts.
- Restrict access with a firewall, an IP allowlist or a VPN so the UI is not open to the whole internet.
- Never expose the raw Docker API on TCP port 2375 without authentication. An unauthenticated 2375 is a classic critical mistake that gets servers cryptojacked within hours.
Hardening the host matters just as much as the app. Our guide to hardening SSH on a Linux VPS covers the baseline every Docker host should meet.
Manage Containers, Volumes and Networks
Day to day, this is where a self-hosted Portainer earns its keep. From the containers view you can start, stop, restart, pause and remove containers, inspect their configuration, tail live logs and open an interactive console straight into a running container. No SSH, no digging through the CLI to find a container ID.
The same visual approach applies across the board. You can create and inspect volumes, prune unused ones to reclaim disk, manage networks and see which containers are attached, pull and remove images, and watch real-time CPU and memory usage per container. For teams comparing self-hosted platforms, it also pairs well with tooling like Coolify and other self-host PaaS options, and it sits comfortably alongside the wider set of best self-hosted apps for a UK VPS.
Best Practices for Production Portainer
Running Portainer in production is straightforward if you respect a few habits. The theme throughout is least privilege and repeatability: assume the UI is a high-value target and design around that.
- Always serve the UI over HTTPS behind a reverse proxy with a valid certificate.
- Use strong, unique authentication; on Business, use RBAC to give each team member only the access they need.
- Keep Portainer and the Docker engine updated to pick up security fixes.
- Back up the
portainer_datavolume so your settings, users and stack definitions survive a rebuild. - Restrict network access to the UI and never leave the Docker API exposed on 2375.
- Store stack definitions in Git so deployments are versioned and auditable.
Conclusion
A self-hosted Portainer turns Docker from a command-line chore into a clear, shared dashboard that your whole team can use safely. It does not replace an understanding of Docker, but it gives you a fast visual overview, painless stack deployments and far fewer typos. Pair it with a well-specced UK VPS and sensible security, and you have a Docker web UI that is genuinely production-ready.
Ready to get started? Here is what to do next:
- Spin up a UK VPS with Docker installed and run the two install commands above.
- Create your admin account immediately and set a strong password.
- Put Portainer behind a reverse proxy with HTTPS before going live.
- Deploy your first stack from a Compose file and back up the data volume.
Run Portainer & your containers on a UK Speed VPS
Get a fast UK NVMe VPS with full root access – the ideal home for Docker, Portainer and your whole self-hosted stack, with data kept in the UK.