Introduction
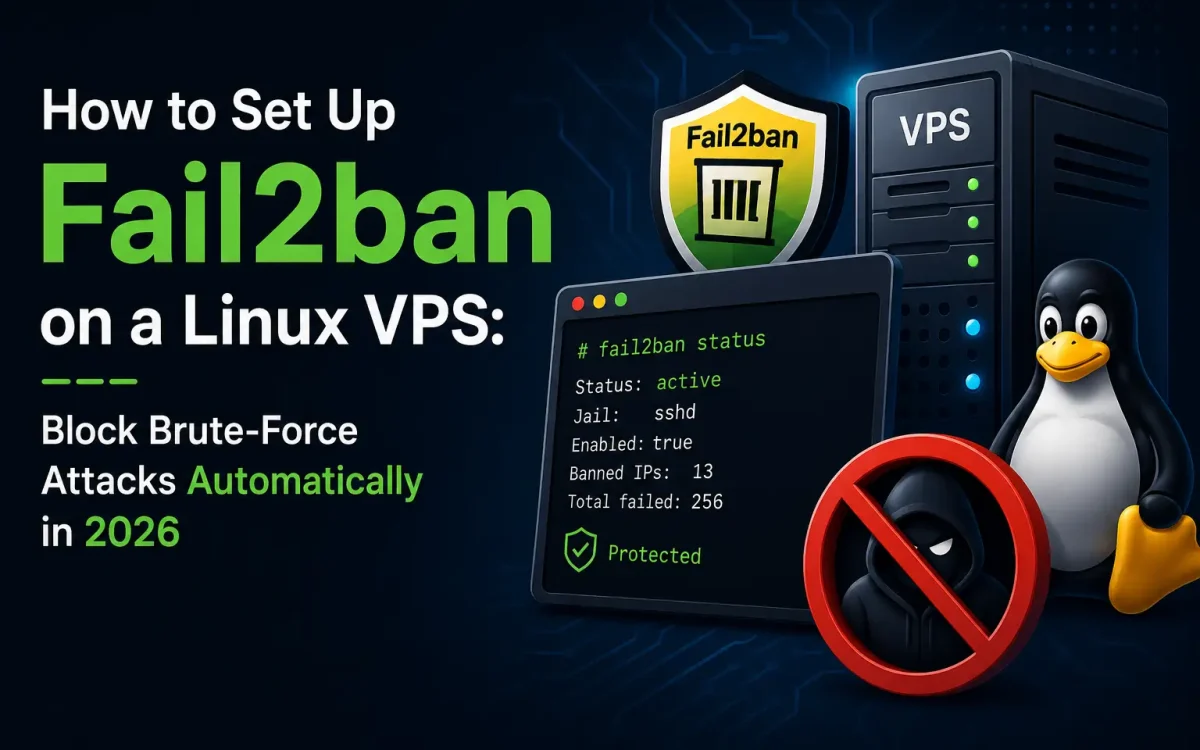
Cyberattacks continue to evolve in 2026, but one threat remains consistently common across Linux servers worldwide: brute-force attacks. Every day, automated bots scan the internet looking for vulnerable servers, attempting thousands of username and password combinations against SSH, web panels, mail servers, databases, and other exposed services. For VPS owners, system administrators, developers, and businesses, failing to protect a server against brute-force attacks can lead to unauthorized access, data theft, malware infections, service disruption, and costly downtime. Fortunately, Linux provides a powerful and lightweight solution called Fail2ban. This security tool automatically detects malicious login attempts and blocks offending IP addresses before they can compromise your server.
In this comprehensive guide, you’ll learn what Fail2ban is, how it works, how to install and configure it on a Linux VPS, and how to create a strong first line of defense against automated attacks in 2026.
What Is Fail2ban?
Fail2ban is an open-source intrusion prevention framework designed to protect Linux servers from brute-force attacks and malicious login attempts. It continuously monitors log files and automatically blocks IP addresses that generate suspicious authentication failures. When an IP exceeds a predefined number of failed login attempts, Fail2ban can:
- Add firewall rules
- Block the attacker temporarily
- Permanently ban repeat offenders
- Send email notifications
- Trigger custom security actions
Fail2ban works with many popular services including:
- SSH
- NGINX
- Apache
- FTP servers
- Mail servers
- WordPress login pages
- Control panels
- Databases
Why Every Linux VPS Should Use Fail2ban
Many administrators underestimate how frequently their servers are targeted. A newly deployed VPS often receives login attempts within hours of becoming publicly accessible. Common attack targets include:
- SSH port 22
- cPanel
- Plesk
- DirectAdmin
- Webmail portals
- WordPress login pages
- FTP services
- Mail services
Without protection, attackers can perform thousands of password attempts every hour. Fail2ban automatically identifies these attacks and blocks them before they become a serious threat. Benefits include:
- Reduced attack surface
- Improved server security
- Lower resource consumption
- Protection against credential stuffing
- Automated threat mitigation
- Better log management
How Fail2ban Works
Fail2ban follows a simple process:
- Monitor log files.
- Detect failed authentication attempts.
- Compare activity against predefined rules.
- Identify suspicious behavior.
- Apply firewall bans automatically.
For example: An attacker attempts:
root
admin
ubuntu
test
user
with hundreds of passwords. After five failed attempts, Fail2ban immediately blocks the source IP through the firewall. Future connection attempts from that IP are rejected until the ban expires.
Installing Fail2ban on Ubuntu 24.04
Update your server first:
sudo apt update && sudo apt upgrade -y
Install Fail2ban:
sudo apt install fail2ban -y
Verify installation:
sudo systemctl status fail2ban
You should see:
active (running)
Enable automatic startup:
sudo systemctl enable fail2ban
Installing Fail2ban on Debian 12
For Debian systems:
sudo apt update
sudo apt install fail2ban -y
Start the service:
sudo systemctl start fail2ban
sudo systemctl enable fail2ban
Verify:
sudo systemctl status fail2ban
Installing Fail2ban on AlmaLinux, Rocky Linux, and CentOS
Install EPEL repository:
sudo dnf install epel-release -y
Install Fail2ban:
sudo dnf install fail2ban -y
Enable the service:
sudo systemctl enable fail2ban
sudo systemctl start fail2ban
Check status:
sudo systemctl status fail2ban
Understanding Fail2ban Configuration Files
Important configuration locations include:
/etc/fail2ban/
Common files:
jail.conf
jail.local
fail2ban.conf
action.d/
filter.d/
Never edit:
jail.conf
directly. Instead create:
jail.local
to preserve settings during updates.
Creating Your First Jail Configuration
Create:
sudo nano /etc/fail2ban/jail.local
Example secure configuration:
[DEFAULT]

bantime = 1h
findtime = 10m
maxretry = 5
backend = systemd

ignoreip = 127.0.0.1/8
Explanation:
- bantime = block duration
- findtime = monitoring period
- maxretry = failed attempts before ban
- ignoreip = trusted IPs
Protecting SSH with Fail2ban
SSH remains the most targeted service on Linux servers. Add:
[sshd]

enabled = true
port = ssh
filter = sshd
logpath = %(sshd_log)s
backend = systemd
maxretry = 5
bantime = 1h
Save and restart:
sudo systemctl restart fail2ban
Check status:
sudo fail2ban-client status sshd
Example output:
Status for the jail: sshd
Currently banned: 3
Total banned: 156
Viewing Banned IP Addresses
Display all active jails:
sudo fail2ban-client status
View SSH bans:
sudo fail2ban-client status sshd
List banned IPs:
sudo fail2ban-client get sshd banip
Unbanning an IP Address
Remove a ban manually:
sudo fail2ban-client set sshd unbanip 1.2.3.4
Replace:
1.2.3.4
with the actual IP address.
Configuring Email Notifications
Install mail tools:
sudo apt install mailutils -y
Add to:
jail.local
destemail = [email protected]
sender = [email protected]
mta = sendmail
action = %(action_mwl)s
You will receive notifications whenever Fail2ban blocks attackers.
Protecting NGINX Servers
Enable NGINX protection:
[nginx-http-auth]

enabled = true
port = http,https
filter = nginx-http-auth
logpath = /var/log/nginx/error.log
maxretry = 5
This protects HTTP authentication endpoints.
Protecting Apache Servers
Add:
[apache-auth]

enabled = true
port = http,https
filter = apache-auth
logpath = /var/log/apache2/error.log
maxretry = 5
Fail2ban will automatically block repeated authentication failures.
Protecting WordPress Login Pages
WordPress websites are constant targets for credential attacks. You can configure Fail2ban to monitor:
- wp-login.php
- XML-RPC
- Admin authentication attempts
Benefits include:
- Reduced bot traffic
- Lower server load
- Better WordPress security
- Protection against password guessing
Combined with strong passwords and two-factor authentication, Fail2ban becomes a highly effective defense layer.
Integrating Fail2ban with UFW
Most Ubuntu VPS deployments use UFW. Verify UFW status:
sudo ufw status
Configure Fail2ban to use UFW:
banaction = ufw
Restart:
sudo systemctl restart fail2ban
Now blocked IPs will automatically be added to UFW rules.
Integrating Fail2ban with iptables
For traditional Linux firewalls:
banaction = iptables-multiport
Restart Fail2ban:
sudo systemctl restart fail2ban
The firewall will automatically block offending IP addresses.
Best Fail2ban Settings for 2026
A recommended production configuration:
[DEFAULT]

ignoreip = 127.0.0.1/8
bantime = 24h
findtime = 10m
maxretry = 3
backend = systemd
banaction = ufw
This setup provides strong protection while minimizing false positives.
Additional VPS Security Recommendations
Fail2ban is powerful, but it should be part of a layered security strategy. Additional protections include:
Change the SSH Port
Instead of:
22
use:
22022
or another custom port.
Disable Root Login
Edit:
/etc/ssh/sshd_config
Set:
PermitRootLogin no
Enable SSH Key Authentication
SSH keys provide significantly stronger security than passwords.
Keep Software Updated
Regular updates patch vulnerabilities before attackers can exploit them.
Use a VPS Firewall
Combine:
- UFW
- CSF
- iptables
- Cloud firewall solutions
for stronger protection.
Common Fail2ban Issues and Fixes
Jail Not Starting
Check syntax:
sudo fail2ban-client -t
No IPs Are Being Banned
Verify:
- Log file paths
- Filter configuration
- Service names
Service Won’t Restart
Review logs:
sudo journalctl -u fail2ban
SSH Jail Missing
Ensure:
enabled = true
is configured under the SSH jail section.
Why Fail2ban Is Essential for VPS Security
Brute-force attacks remain one of the most common threats against internet-facing Linux servers. Even a small VPS can receive thousands of login attempts every day. Fail2ban provides an automated and lightweight defense mechanism that dramatically improves server security with minimal resource usage. By monitoring logs, detecting malicious activity, and blocking attackers automatically, it helps prevent unauthorized access before serious damage can occur. Whether you manage a personal server, a business website, a WordPress installation, or a production application environment, Fail2ban should be considered a mandatory security component.
Conclusion
Fail2ban remains one of the most effective and easiest security tools available for Linux VPS administrators in 2026. With just a few minutes of configuration, it can automatically block brute-force attacks, reduce malicious traffic, and strengthen your server’s overall security posture. Combined with firewall protection, SSH hardening, regular updates, and strong authentication practices, Fail2ban provides a powerful layer of automated defense that every VPS owner should deploy. As cyber threats continue to evolve, implementing Fail2ban is a simple step that delivers significant long-term security benefits.
Looking for fast, secure hosting?
Visit UK Speed for cloud servers, VPS NVMe, and dedicated hosting tailored for performance.