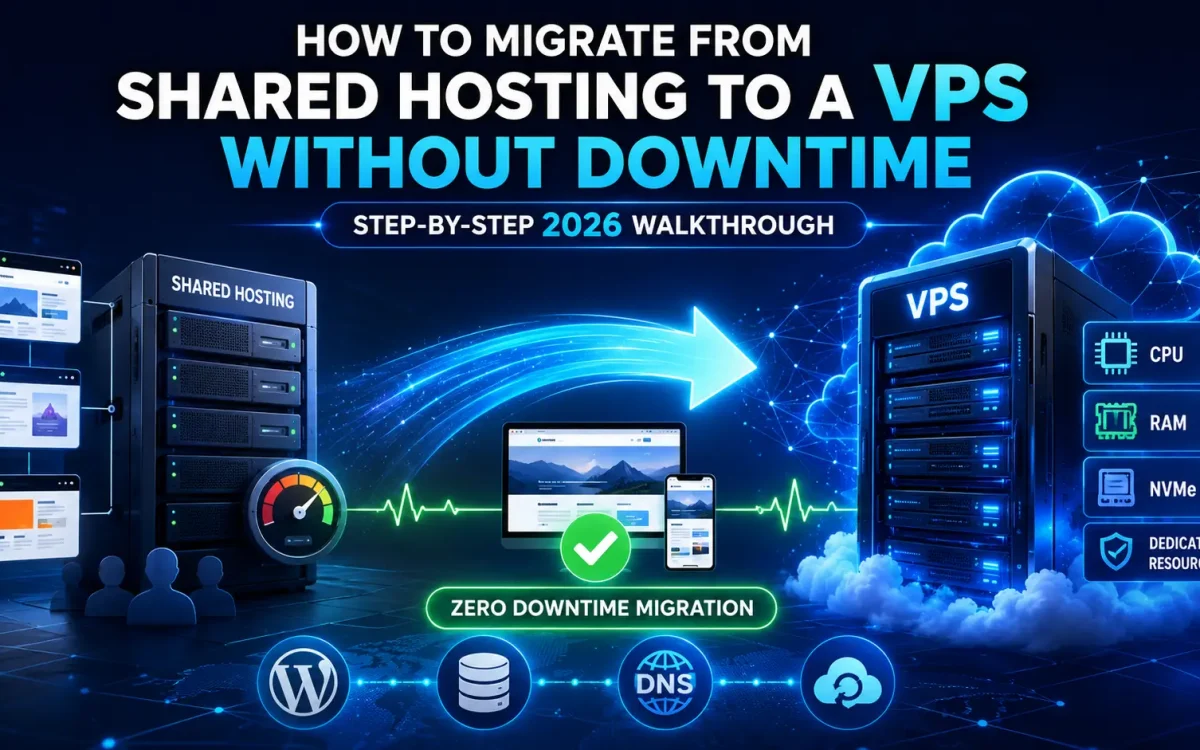
As websites grow, shared hosting often becomes a bottleneck. Slow loading times, resource limitations, traffic restrictions, and lack of server-level control can negatively impact user experience, SEO performance, and business growth. For many website owners, upgrading to a VPS is the logical next step. However, one concern prevents many businesses from making the move: How do you migrate from shared hosting to a VPS without downtime?
A poorly planned migration can lead to website outages, lost sales, broken emails, indexing issues, and frustrated users. The good news is that with proper planning, you can migrate your website to a VPS with little to no downtime. This complete 2026 walkthrough explains every step of the process, from preparation and data transfer to DNS switching and post-migration optimization.
Why Move from Shared Hosting to a VPS?
Before discussing migration, it is important to understand why businesses are increasingly upgrading to VPS hosting. A VPS provides:
- Dedicated resources
- Better performance
- Faster page loading
- Improved security
- Root access
- Greater scalability
- Custom software installation
- Better traffic handling
Unlike shared hosting, your website no longer competes with hundreds of neighboring accounts for CPU, RAM, and disk I/O.
Signs You’ve Outgrown Shared Hosting
Many websites continue using shared hosting long after they should have upgraded. Common warning signs include:
Slow Website Performance
Pages load slowly during peak hours.
Resource Limit Errors
You regularly exceed:
- CPU limits
- Memory limits
- Entry processes
- I/O restrictions
Traffic Growth
Monthly visitors have increased significantly.
Ecommerce Performance Problems
Checkout pages become slow under load.
SEO Performance Declines
Slow server response times negatively impact rankings. If you experience several of these issues, migrating to a VPS may be necessary.
Benefits of a Zero-Downtime Migration
A properly executed migration provides:
- No interruption for visitors
- No lost orders
- No lost leads
- No search engine penalties
- No email disruption
- No ranking loss
The goal is for users and search engines to never notice the transition.
Step 1: Audit Your Current Hosting Environment
Before moving anything, document your existing setup. Collect information about:
Website Files
Identify:
- CMS platform
- Custom applications
- Themes
- Plugins
Database Information
Record:
- Database names
- Database users
- Passwords
Email Accounts
List all existing:
- Mailboxes
- Forwarders
- Aliases
DNS Records
Export all records including:
- A records
- MX records
- TXT records
- SPF records
- DKIM records
This information will be needed later.
Step 2: Choose the Right VPS
Selecting the correct VPS is critical. Recommended starting specifications:
Small Business Websites
- 2 vCPU
- 4 GB RAM
- 80 GB NVMe SSD
Ecommerce Websites
- 4 vCPU
- 8 GB RAM
- 160 GB NVMe SSD
High-Traffic Websites
- 8+ vCPU
- 16+ GB RAM
- Enterprise NVMe storage
Modern AMD EPYC-powered VPS platforms provide excellent performance for growing websites.
Step 3: Lower DNS TTL Values
This is one of the most important steps. Several days before migration, reduce DNS TTL. Example:
Current:
TTL = 86400
Lower to:
TTL = 300
This allows DNS changes to propagate quickly during cutover. Without lowering TTL, visitors may continue reaching the old server for many hours.
Step 4: Prepare the VPS Environment
Configure the VPS before moving any data. Install:
- Linux operating system
- Web server
- Database server
- PHP
- SSL support
Typical stack:
NGINX
High-performance web server.
Apache
Widely compatible with existing applications.
MariaDB
Popular MySQL replacement.
PHP 8.3+
Recommended for modern applications. Update everything:
apt update && apt upgrade -y
Step 5: Configure Security First
Do not migrate to an unsecured VPS. Immediately implement:
Firewall
Allow only required ports.
SSH Hardening
- Disable root login
- Change SSH port
- Use SSH keys
Fail2Ban
Protect against brute-force attacks.
Automatic Updates
Enable security updates. Security should be configured before production traffic arrives.
Step 6: Copy Website Files
Transfer website files from shared hosting. Common methods:
Rsync
rsync -avz source destination
SCP
scp -r files user@server:/var/www/
Hosting Backup Restore
Many control panels provide backup export features. Verify file integrity after transfer.
Step 7: Export and Import Databases
Export:
mysqldump -u user -p database > backup.sql
Transfer the backup. Import:
mysql -u user -p database < backup.sql
Check:
- Table counts
- Row counts
- Application functionality
Database consistency is essential.
Step 8: Configure Website Settings
Update:
Database Credentials
Edit configuration files. Examples:
wp-config.php
.env
config.php
File Permissions
Verify ownership and permissions. Incorrect permissions often cause migration failures.
Step 9: Test the Website Before Going Live
Never switch DNS immediately. First test the website using:
Hosts File Override
Windows:
C:WindowsSystem32driversetchosts
Linux:
/etc/hosts
Map the domain to the VPS IP. This allows testing without affecting visitors. Verify:
- Homepage
- Login pages
- Contact forms
- Checkout process
- Images
- SSL certificates
Everything should function perfectly before cutover.
Step 10: Migrate Email Services
Email is frequently overlooked. Options include:
Keep Existing Email Provider
Simplest approach.
Move Email to VPS
Requires:
- Postfix
- Dovecot
- Spam filtering
Use Dedicated Email Services
Examples:
- Microsoft 365
- Google Workspace
Document every mailbox before migration.
Step 11: Install SSL Certificates
Before changing DNS, install SSL. Using Let’s Encrypt:
certbot --nginx
or
certbot --apache
Verify:
- HTTPS works
- Redirects function properly
- No mixed-content warnings
Step 12: Perform Final Data Synchronization
Just before switching traffic:
- Enable maintenance mode briefly
- Sync changed files
- Export latest database
- Import latest database
This ensures no recent data is lost. For ecommerce sites this step is especially important.
Step 13: Update DNS Records
Now change:
A Record
from:
Old Shared Hosting IP
to:
New VPS IP
Because TTL was reduced earlier, propagation should occur rapidly. Most visitors begin reaching the VPS within minutes.
Step 14: Monitor Both Servers
Do not immediately cancel shared hosting. Keep both servers active. Monitor:
Web Logs
Look for errors.
Traffic
Verify visitors reach the VPS.
Email Delivery
Confirm mail services function correctly.
Resource Usage
Track:
- CPU
- RAM
- Disk I/O
Keep the old hosting account active for at least several days.
Step 15: Verify SEO Integrity
Protecting SEO is a critical objective. Check:
URL Structure
URLs must remain identical.
Metadata
Titles and descriptions should be preserved.
Canonical Tags
Verify proper implementation.
Sitemap
Regenerate and submit.
Robots.txt
Ensure it remains accessible.
Internal Links
Verify no broken links exist. Search engines should see the same website—just on a faster server.
Step 16: Test Performance Improvements
Benchmark before and after migration. Measure:
TTFB
Time To First Byte.
Largest Contentful Paint
LCP performance.
Page Load Time
Overall loading speed.
Database Response Time
Query performance. Most websites experience significant improvements after moving to VPS hosting.
Common Migration Mistakes
Migrating Without Lowering TTL
Causes prolonged propagation issues.
Cancelling Shared Hosting Too Early
Always maintain a rollback option.
Forgetting Email Configuration
One of the most common causes of post-migration outages.
Ignoring Security
A fresh VPS should never be deployed without hardening.
Not Testing Thoroughly
Testing before DNS changes prevents downtime.
WordPress-Specific Migration Tips
WordPress remains the most common migration scenario. Best practices include:
Update URLs Carefully
Use:
wp search-replace
when necessary.
Clear Caches
Flush:
- Plugin cache
- Redis cache
- CDN cache
Check Cron Jobs
Ensure scheduled tasks continue functioning.
Update PHP
Use modern supported versions.
Why VPS Hosting Improves SEO
Many website owners underestimate the SEO impact of hosting quality. A VPS can improve:
- Server response time
- Core Web Vitals
- User experience
- Crawl efficiency
- Site stability
These factors contribute to stronger search visibility.
Why UK Speed VPS Is Ideal for Website Migration
UK Speed VPS solutions provide the performance required for seamless migration and long-term growth. Benefits include:
- High-performance NVMe storage
- AMD EPYC processors
- Low-latency UK network connectivity
- Full root access
- Flexible scaling
- Enterprise-grade reliability
- Advanced security options
These features make VPS migration worthwhile for growing websites, ecommerce stores, agencies, and SaaS businesses.
Final Thoughts
Migrating from shared hosting to a VPS is one of the most impactful upgrades a growing website can make. When performed correctly, the transition can be completed with virtually no downtime while preserving SEO rankings, user experience, and business continuity. The key is careful preparation, DNS planning, thorough testing, and maintaining both environments during the transition period. By following this step-by-step process, website owners can move to a more powerful hosting environment while avoiding the common mistakes that often cause outages and ranking losses. In 2026, a VPS is no longer reserved for large enterprises. It has become the natural next step for businesses that require better speed, security, scalability, and control over their hosting infrastructure.
Looking for fast, secure hosting?
Visit UK Speed for cloud servers, VPS NVMe, and dedicated hosting tailored for performance.