In 2026, many businesses, agencies, hosting providers, and developers prefer running their own email infrastructure instead of relying entirely on third-party services. A self-hosted mail server gives you complete control over your email delivery, data privacy, branding, and scalability. With a reliable VPS, you can build a professional email platform using Postfix for SMTP, Dovecot for IMAP/POP3 access, and SpamAssassin for spam filtering. This comprehensive guide explains how to set up a production-ready mail server on a VPS step by step while following modern email security best practices.
Why Host Your Own Mail Server?
Before diving into the setup process, let’s understand why businesses choose self-hosted email. Benefits include:
- Full control over your email infrastructure
- No per-user licensing fees
- Professional email addresses
- Enhanced privacy
- Custom spam filtering policies
- Better integration with internal systems
- Unlimited mailbox creation
- Brand independence from third-party providers
For hosting companies, agencies, SaaS businesses, and IT departments, running a dedicated mail server can significantly reduce long-term operational costs.
Requirements Before You Begin
To build a reliable mail server, you should have:
VPS Specifications
Recommended minimum:
- 2 vCPU
- 4 GB RAM
- 80 GB NVMe SSD
- Ubuntu 24.04 LTS
- Static IPv4 address
For larger deployments:
- 4+ vCPU
- 8+ GB RAM
- Enterprise NVMe storage
A high-performance VPS from UK Speed provides the stability and low latency required for business email hosting.
Domain Name
You must own a domain such as:
yourdomain.comYour mail server hostname might be:
mail.yourdomain.comReverse DNS (PTR Record)
Many email providers reject messages without proper PTR records. Example:
mail.yourdomain.com
→ 203.0.113.10
PTR:
203.0.113.10
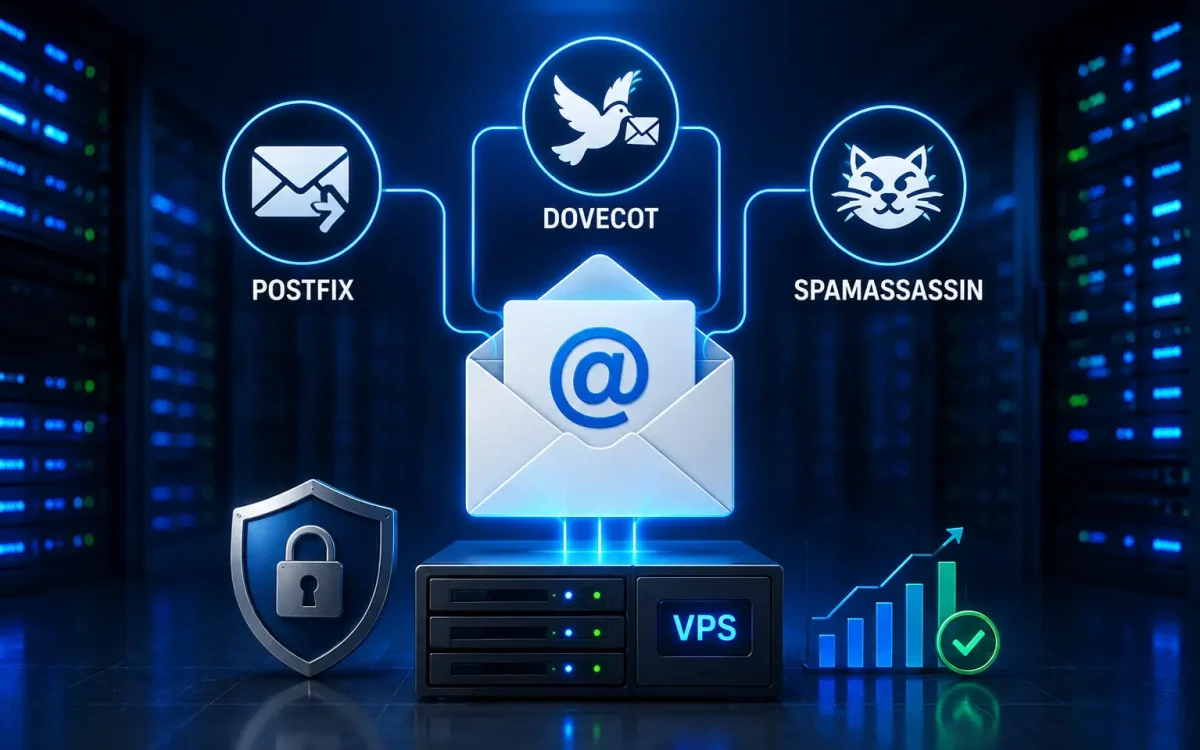
→ mail.yourdomain.comMail Server Architecture
Our setup consists of:
Postfix
Handles:
- Sending email
- Receiving email
- SMTP authentication
- Mail routing
Dovecot
Handles:
- IMAP
- POP3
- Mailbox management
- User authentication
SpamAssassin
Handles:
- Spam detection
- Scoring systems
- Header analysis
- Bayesian filtering
Optional Components
You can later add:
- ClamAV antivirus
- Roundcube Webmail
- Rspamd
- DKIM signing
- DMARC reporting
Step 1: Update Your VPS
First update your server.
apt update && apt upgrade -ySet your hostname.
hostnamectl set-hostname mail.yourdomain.comVerify:
hostnameOutput:
mail.yourdomain.comStep 2: Configure DNS Records
Proper DNS is critical.
A Record
mail.yourdomain.com → VPS_IPMX Record
yourdomain.com MX 10 mail.yourdomain.comSPF Record
TXT

v=spf1 mx ip4:YOUR_IP ~all
Example:
v=spf1 mx ip4:192.168.1.10 ~allDKIM Record
Added later after DKIM configuration.
DMARC Record
_dmarc

v=DMARC1; p=quarantine;
rua=mailto:[email protected]
These records improve deliverability and reduce spoofing.
Step 3: Install Postfix
Install Postfix.
apt install postfix -yDuring installation select:
Internet SiteSystem Mail Name:
yourdomain.comVerify service status:
systemctl status postfixEnable startup:
systemctl enable postfixStep 4: Configure Postfix
Edit:
nano /etc/postfix/main.cfExample configuration:
myhostname = mail.yourdomain.com
mydomain = yourdomain.com
myorigin = $mydomain

inet_interfaces = all
inet_protocols = ipv4

mydestination = localhost

home_mailbox = Maildir/

smtpd_tls_cert_file=/etc/letsencrypt/live/mail.yourdomain.com/fullchain.pem
smtpd_tls_key_file=/etc/letsencrypt/live/mail.yourdomain.com/privkey.pem

smtpd_use_tls=yes

smtpd_tls_security_level=may

smtp_tls_security_level=may

smtpd_sasl_type=dovecot
smtpd_sasl_path=private/auth
smtpd_sasl_auth_enable=yes
Restart:
systemctl restart postfixStep 5: Install Dovecot
Install required packages.
apt install dovecot-core dovecot-imapd dovecot-pop3d -yVerify:
systemctl status dovecotEnable:
systemctl enable dovecotStep 6: Configure Maildir
Edit:
nano /etc/dovecot/conf.d/10-mail.confSet:
mail_location = maildir:~/MaildirRestart:
systemctl restart dovecotCreate Maildir structure:
maildirmake.dovecot ~/MaildirStep 7: Enable SMTP Authentication
Edit:
nano /etc/dovecot/conf.d/10-master.confLocate:
service auth {
}
Add:
unix_listener /var/spool/postfix/private/auth {
  mode = 0660
  user = postfix
  group = postfix
}
Restart services:
systemctl restart dovecot
systemctl restart postfix
Step 8: Secure the Server with SSL
Install Certbot.
apt install certbot -yGenerate certificate:
certbot certonly --standalone
-d mail.yourdomain.com
Certificates are stored in:
/etc/letsencrypt/live/Configure both Postfix and Dovecot to use them. Verify SSL:
openssl s_client -connect mail.yourdomain.com:993Step 9: Install SpamAssassin
Install:
apt install spamassassin spamc -yEnable:
systemctl enable spamassassin
systemctl start spamassassin
Check:
systemctl status spamassassinStep 10: Integrate SpamAssassin with Postfix
Install content filtering support.
apt install spamc -yConfigure Postfix to pass mail through SpamAssassin. Edit:
nano /etc/postfix/master.cfAdd filtering rules according to your environment. Restart:
systemctl restart postfixNow incoming messages are analyzed before reaching user mailboxes.
Step 11: Install DKIM
Modern email systems require DKIM. Install:
apt install opendkim opendkim-tools -yGenerate key:
mkdir /etc/opendkim/keys/yourdomain.com

opendkim-genkey
-D /etc/opendkim/keys/yourdomain.com
-d yourdomain.com
-s default
Add generated public key to DNS. Restart:
systemctl restart opendkimStep 12: Configure DMARC
DMARC improves email trust. Example DNS record:
_dmarc.yourdomain.com

v=DMARC1;
p=quarantine;
pct=100;
rua=mailto:[email protected]
Recommended policies:
Monitoring
p=noneProtection
p=quarantineMaximum Protection
p=rejectStep 13: Open Required Firewall Ports
Allow:
ufw allow 25/tcp
ufw allow 465/tcp
ufw allow 587/tcp
ufw allow 110/tcp
ufw allow 995/tcp
ufw allow 143/tcp
ufw allow 993/tcp
Enable:
ufw enableVerify:
ufw statusStep 14: Create Email Accounts
Create Linux user:
adduser johnCreate Maildir:
maildirmake.dovecot /home/john/MaildirEmail address:
[email protected]Repeat for additional users.
Step 15: Test Email Delivery
Test outbound mail.
echo "Test" | mail
-s "SMTP Test"
[email protected]
Verify:
- SPF passes
- DKIM passes
- DMARC passes
Use tools like:
- Mail Tester
- MXToolbox
- Google Postmaster Tools
to verify reputation and deliverability.
Common Problems and Fixes
Emails Going to Spam
Usually caused by:
- Missing SPF
- Missing DKIM
- Missing DMARC
- Poor VPS IP reputation
Gmail Rejecting Emails
Check:
- PTR record
- TLS support
- Authentication alignment
Outlook Delivery Issues
Ensure:
- Reverse DNS matches hostname
- DKIM is valid
- SPF includes server IP
SSL Errors
Verify:
certbot renew --dry-runRecommended Mail Server Security Practices
For production environments:
- Enable Fail2Ban
- Use strong passwords
- Disable weak ciphers
- Enable DKIM
- Enable DMARC
- Enable SPF
- Regularly update packages
- Monitor logs daily
- Use TLS everywhere
- Backup mailboxes frequently
Why Use a VPS from UK Speed for Email Hosting?
Running a mail server requires stable infrastructure and reliable network connectivity. UK Speed VPS solutions provide:
- High-performance NVMe storage
- Modern AMD EPYC processors
- Low-latency UK network connectivity
- Full root access
- Dedicated IPv4 availability
- Enterprise-grade uptime
- Scalable VPS resources
Whether you’re hosting a few business mailboxes or managing hundreds of email accounts, a properly configured VPS provides the flexibility and control needed for modern email infrastructure.
Final Thoughts
Setting up a mail server using Postfix, Dovecot, and SpamAssassin remains one of the most powerful self-hosted email solutions in 2026. With proper DNS configuration, SPF, DKIM, DMARC, SSL encryption, and spam filtering, you can build a professional-grade mail platform capable of handling business communications securely and reliably. While the initial setup requires careful attention to detail, the long-term benefits include lower costs, complete control over your data, unlimited mailbox creation, and improved email management. Combined with a high-performance VPS from UK Speed, this stack offers a scalable and secure foundation for organizations that want full ownership of their email infrastructure.
Looking for fast, secure hosting?
Visit UK Speed for cloud servers, VPS NVMe, and dedicated hosting tailored for performance.